This post may contain affiliate links. Please read my disclosure policy.
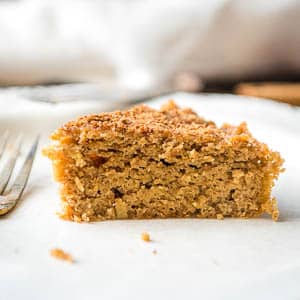
This Instant Pot cake is an amazing chocolate dessert that you can whip up WITHOUT turning on your oven (or if you don't HAVE an oven)! It's Paleo, gluten-free, and dairy-free. Also suitable for AIP Diet Stage 2 reintros due to nuts (almond flour) and eggs.
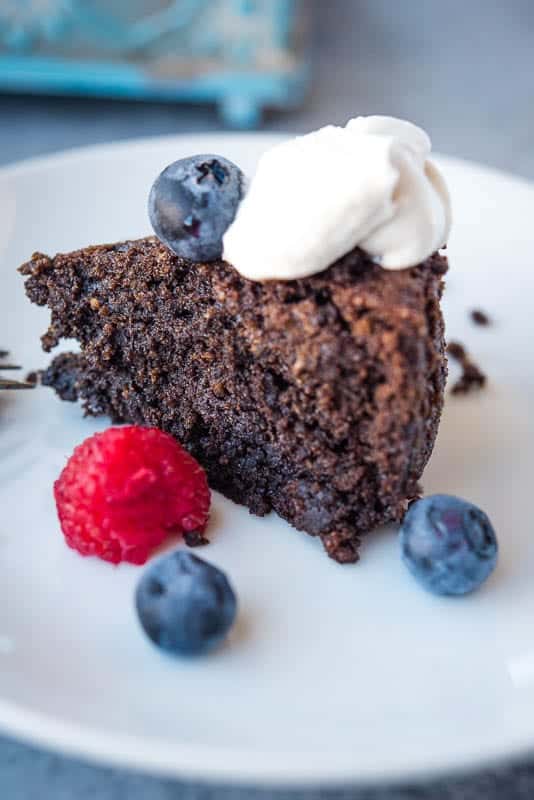
If you're sick of getting dry chocolate cake, I have a solution for you. Because, well, who likes dry chocolate cake? Instead – make this Instant Pot cake.
You probably wouldn't expect that an Instant Pot electric pressure cooker can give you deliciously …. oh man…. how really do you say this without offending like 90% of the population that HATES the “m” word? Um, so the Huffington Post says I can say these words instead of the word I want to use:
- “not dry” (creative)
- “hydrated” (really…. hydrated? For a cake?)
- “good crumb” (that's a stretch)
- “spongy” (ok, that's a bit better but not quuuite what I'm going for)
- “divine” (I guess I'll take that one)
You get the idea, right? It ain't dry, and it tastes DIVINE 🙂
Table of contents
Why Make an Instant Pot Cake
When I first heard of making desserts in the Instant Pot, my first thought was “Why would you do that?”. I mean, cakes in the oven work just fine!
But as I did more research and made them myself, I realized there are some advantages to it. Some disadvantages though too.
Advantages:
- You don't need to turn your oven on. This is great on a hot day.
- You don't need to preheat your oven or worry about any exact temperatures – I like this since my oven sucks. It consistently runs inconsistently!
- If you don't HAVE an oven you can still make one – so in a college dorm, a small apartment, a tiny house, an RV, during a kitchen remodel, etc
- If your oven is completely occupied you can still make a cake (holidays, dinner parties)
- The cake seems to consistently need the same amount of time to “bake”, unlike in an oven where often have to do the toothpick test to see if it is really done or not and often have to add a few more minutes, then a few more minutes…
- The cake consistency comes out “divine” – see above terminology 🙂

Disadvantages:
- You can't make more than one layer at a time, so if you want to make a layer cake you're better off baking it in the oven
- These cakes seem best served warm and within a day of baking (at least the Paleo versions – which is often true of most Paleo baked goods)
- You're limited to a 6-inch round cake if using a 6-quart Instant Pot. No long flat cakes, square, larger circles, or interesting shapes
How to Make A Cake In the Instant Pot
So you're probably wondering exactly HOW you do this feat of “baking” a cake in a pressure cooker, right? Trust me, I was very confused about how this would work at first. It's not complicated though, and not altogether different from baking a cake in the oven.
Tips for Success With An Instant Pot Cake
There are a few things that are essential to make this a success:
- You need to use the “pot-in-pot” method – this is where you still put your cake into a normal round metal or silicone baking pan INSIDE the inner pot of the Instant Pot
- You must use a liquid like water in the inner pot. This is essential in pretty much EVERY Instant Pot pressure cooking recipe, and this is no different.
- You need to use a wire rack, steamer basket, or trivet to keep the cake off the bottom of the inner pot
- You don't want to do a quick release of pressure at the end because it'll ruin the texture of the cake. I find that 10 minutes of natural release is perfect, then you can quick release the rest of the pressure (if there's still any left)
- You should eat a cake cooked this way within one day, preferably soon after it's made, as it does start to dry out
The Process
The initial process for making a cake in the Instant Pot is the same as baking a cake in the oven. It diverges a bit once you cook it though.
- Grease the baking pan, add parchment if necessary, mix up the ingredients and add the batter to the baking pan.
- Pour water (2 cups should be fine for the majority of electric pressure cookers) into the bottom of the inner pot
- Add a wire rack, steamer basket, or trivet to keep the cake off the bottom
- Place the cake on the rack
- Close the lid and close the pressure valve to “Sealing”
- Hit “Manual” and adjust the time to what is indicated in the recipe and let it cook
- When it beeps, let it naturally release for at least 10 minutes and then quick release the remaining pressure if needed
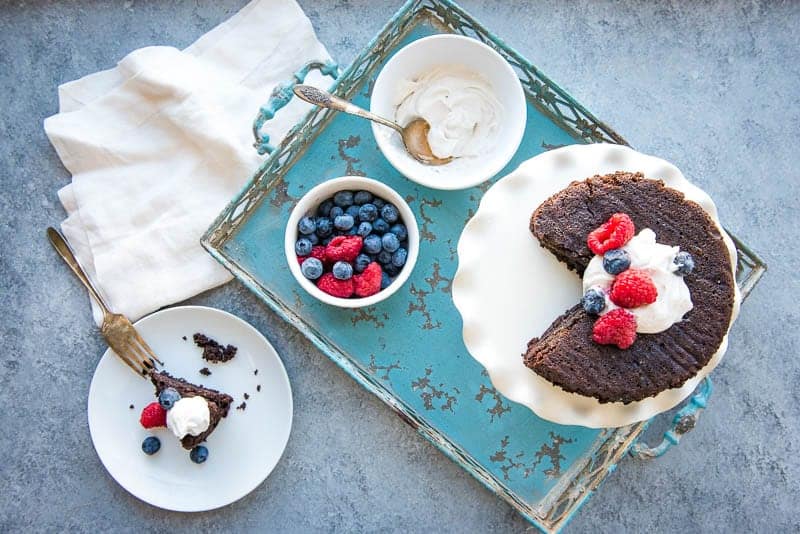
- Let the cake sit for 10-15 minutes more, then run a butter knife around the outside of the pan to release it onto a plate/serving dish. Best served warm.
You May Need:
I am a participant in the Amazon Services LLC Associates Program, an affiliate advertising program designed to provide a means for us to earn fees by linking to Amazon.com and affiliated sites.
I have this Instant Pot –> the 6 qt DUO 7:1. it's the older model, therefore cheaper now, but I love it!

Steam Rack (get this to keep your cake off the bottom if your Instant Pot didn't come wth one)

Sealing Rings use one for savory dishes, one for sweet, and one if you make yogurt – this helps your sweet dishes not taste like last night's chili)

Aluminum Cake Pan – this one fits in the Instant Pot perfectly and is safe to use with a pressure cooker

Other Recipes You Might Like
These are some other recipes I think you might adore:
Paleo Chocolate Zucchini Bread – for the chocolate lover!
Instant Pot Cinnamon Apple Cake – another Instant Pot cake, this time with comforting fall flavors (Paleo & gluten-free)
Instant Pot Breakfast Porridge – if you're a fan of using your Instant Pot, this grain-free nut porridge is a delicious way to start your morning! (Paleo & gluten-free)
More Helpful AIP & Paleo Resources in the Freebie Library
If you find this recipe helpful, you may really enjoy the resources in my Paleo & AIP Freebie Library! There's a “dump” freezer meal plan, a list of AIP-compliant breakfast toppings, and so much more. Plus, you'll get even more ideas sent to your inbox! Get the password here.

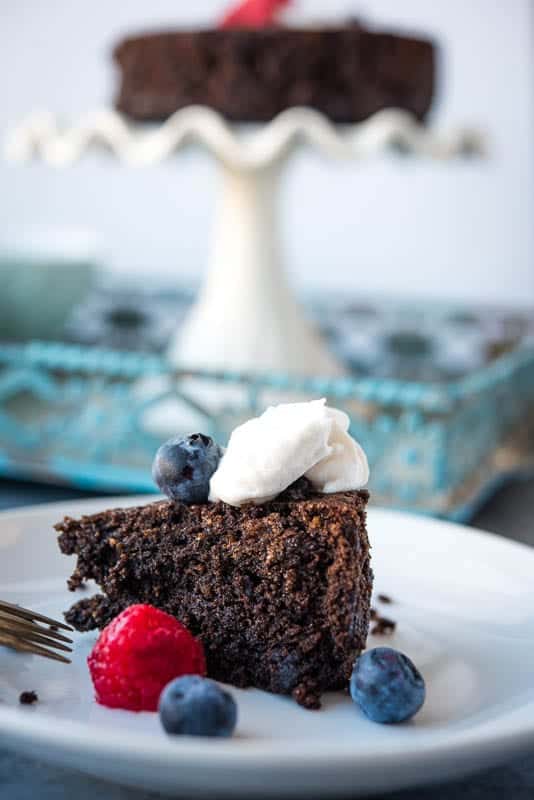
Instant Pot Chocolate Cake Recipe
When first exploring this whole world of Instant Pot cakes, I originally set out to make an Instant Pot version of my Apple Cinnamon Cake (see the Instant Pot Apple Cinnamon Cake recipe) but I've been having a craving for some fudgy chocolate cake so decided to figure that out, especially since Valentine's Day happens to be a few days after I'm writing this.
This cake is, of course, Paleo, since ya know, this is a Paleo blog and all, BUT I really think it'll be a crowd pleaser for those of you non-Paleo eaters. It's naturally gluten-free through the use of almond flour and it's also dairy-free.
A few things to note:
- If you are finding that it's not rising as much as you'd like, add a bit more baking soda. I have to make this caveat since I haven't tested this recipe at sea level and any baking recipes can be finicky at different altitudes (I live at 5430 ft). BTW – please let me know if you have made this at sea level so I can update this post to reflect what you need to use!
- Use the parchment paper circle on the bottom of your cake pan because it helps immensely with getting the cake out of the pan in one piece
- To make this cake entirely dairy-free, make sure you use a dairy-free chocolate chip. I like Enjoy Life brand.
If you make this chocolate cake, I'd love to hear how it turned out! Either comment below or share a pic on Instagram and tag me @thrivingautoimmune!
Instant Pot Chocolate Cake
Ingredients
- 1 cup Semi-Sweet Chocolate Chips (I like Enjoy Life)
- 1/4 cup Coconut Milk (or other dairy-free milk)
- 2 tbsp Palm Shortening ((or butter or coconut oil))
- 1 cup Almond Flour
- 1/2 tsp Baking Soda
- 1/2 tsp Sea Salt
- 1 tbsp Coconut Sugar or Maple Sugar
- 2 Eggs (beaten)
- 1 tsp Vanilla Extract
Instructions
- Line a 6-inch stainless steel cake pan with a piece of parchment paper and grease lightly.
- In a saucepan over low heat, melt the chocolate chips and coconut milk, stirring frequently. When melted, add the palm shortening and stir until melted. Turn the heat off and set aside to cool a bit.
- Mix the dry ingredients in a large bowl.
- Add the eggs and vanilla to the chocolate mixture and stir to mix.
- Add the dry ingredients and gently fold in just until everything is mixed together. Pour into the prepared cake pan.
- Pour 2 cups of water into the metal liner of your Instant Pot. Then place the metal wire trivet into the basin. Place the cake pan on top of that, close the lid, and set the vent to the sealing position. Press the Manual button and then the '+' to adjust to 40 minutes. (It takes about 10 min to come to pressure)
- When the Instant Pot beeps at the end of cooking, let the pressure naturally release for 10 minutes, then quick release the rest of the pressure. Let the cake sit for another 10-15 minutes before serving. This cake is best served warm.
Notes
If you can tolerate dairy, I HIGHLY recommend checking out my friend Kristen's Instant Pot Creme Brulee. OMG, it looks so good! Wish dairy and I were friends…


There are lots of food blogger like this But the best food recipe “Instant Pot Chocolate Cake” is yours. Thanks for giving me this wonderful blog. I will try to make it like you.